Cloud-Init seems to be the favorite customization tool for major OSs aiming to be installed on different cloud environments (AWS, Azure, GCP, vSphere, …), it is very powerful, heterogeneous but at the beginning, it is difficult to understand how it works.
Personalization information are stored in a file called user-data. This file is transmitted to Cloud-Init using a mechanism specific to each cloud. In our case, it is the VMtools that will transmit the user-data file, once received, Cloud-Init will execute it.
I wasted a tremendous amount of time finding the minimum steps to customize Ubuntu OS with Cloud-Init in a vSphere environment. I was looking for the possibility of customizing the OS when cloning from an OVF template.
Below is the procedure I use for an Ubuntu 20.04.2 LTS, freshly installed and after its first reboot. I kept the default values except for the French keyboard and the installation of the OpenServer SSH option.
Cloud-Init must be told to retrieve the user-data customization file via the OVF parameters of the VM, there is a step to be done on the VM side and an OS side.
OS side:
- Delete the file that sets the Datasource to none instead of OVF:
- sudo rm /etc/cloud/cloud.cfg.d/99-installer.cfg
- If you want the network configuration to be done, delete the file that disables it:
- sudo rm /etc/cloud/cloud.cfg.d/subiquity-disable-cloudinit-networking.cfg
- If you are in DHCP, the VM will always retrieve the same IP because it will keep the same machine ID. To avoid this, you must reset the identity of the OS:
- sudo truncate -s 0 /etc/machine-id
VM side:
- Get the contents of your cloud-init user-data file and encoded it with base64:
- Base64 user-data.yaml
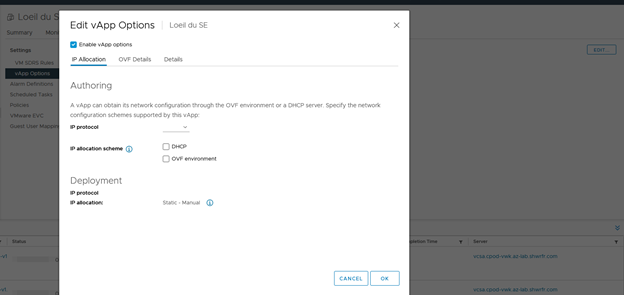
- From the vSphere client, when the VM is stopped, activate the properties of the OVF :
- Select the VM => Configure => vApp Options => vApp Options are disabled … Edit => Click on “Enable vApp options”
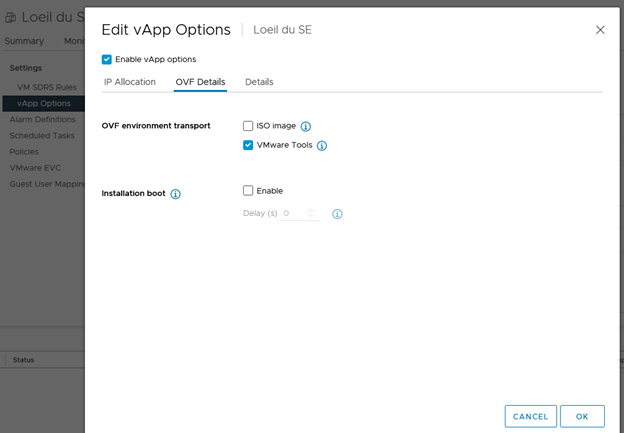
- In the OVF details tab => => check the VMware Tools case
- Select the VM => Configure => vApp Options => vApp Options are disabled … Edit => Click on “Enable vApp options”
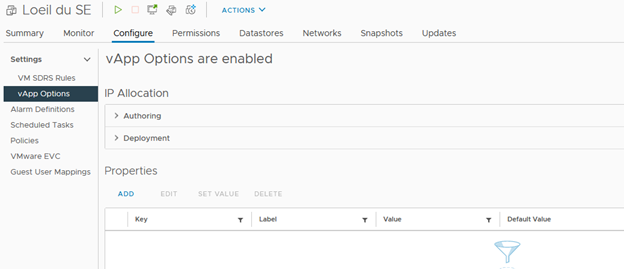
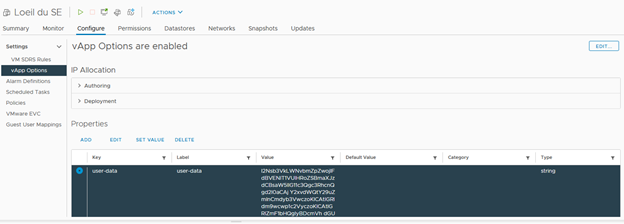
- From the vSphere client, when the VM is stopped, add the user-data field in the properties of the OVF:
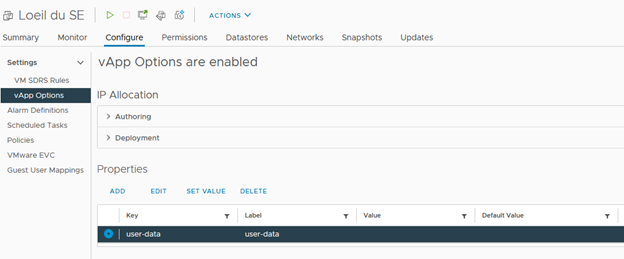
- => Select the VM => Configure => vApp Options => Properties => ADD enter the Label and the Key id with the user-data value.
- => Select the VM => Configure => vApp Options => Properties => ADD enter the Label and the Key id with the user-data value.
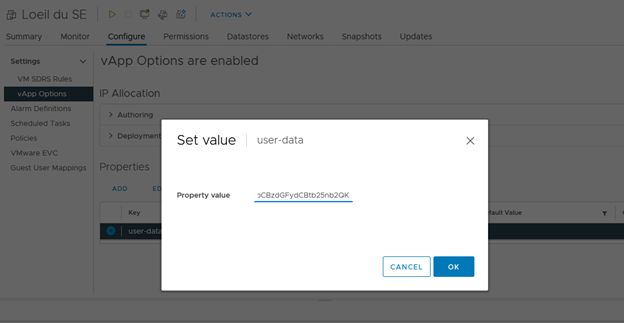
- From the vSphere client, when the VM is stopped, add the value to the user-data field in the properties of the OVF:
- Select the VM => Configure => vApp Options => Properties => SET VALUE, a popup appear and set it with the base64 key comming from the user-data file retrieved in the step early
- Select the VM => Configure => vApp Options => Properties => SET VALUE, a popup appear and set it with the base64 key comming from the user-data file retrieved in the step early
Now from this VM, directly make a clone to make another VM or to make a template. If you want to change the user-data file, when deploying the VM, change only the base64 key to the new key
Leave a Reply